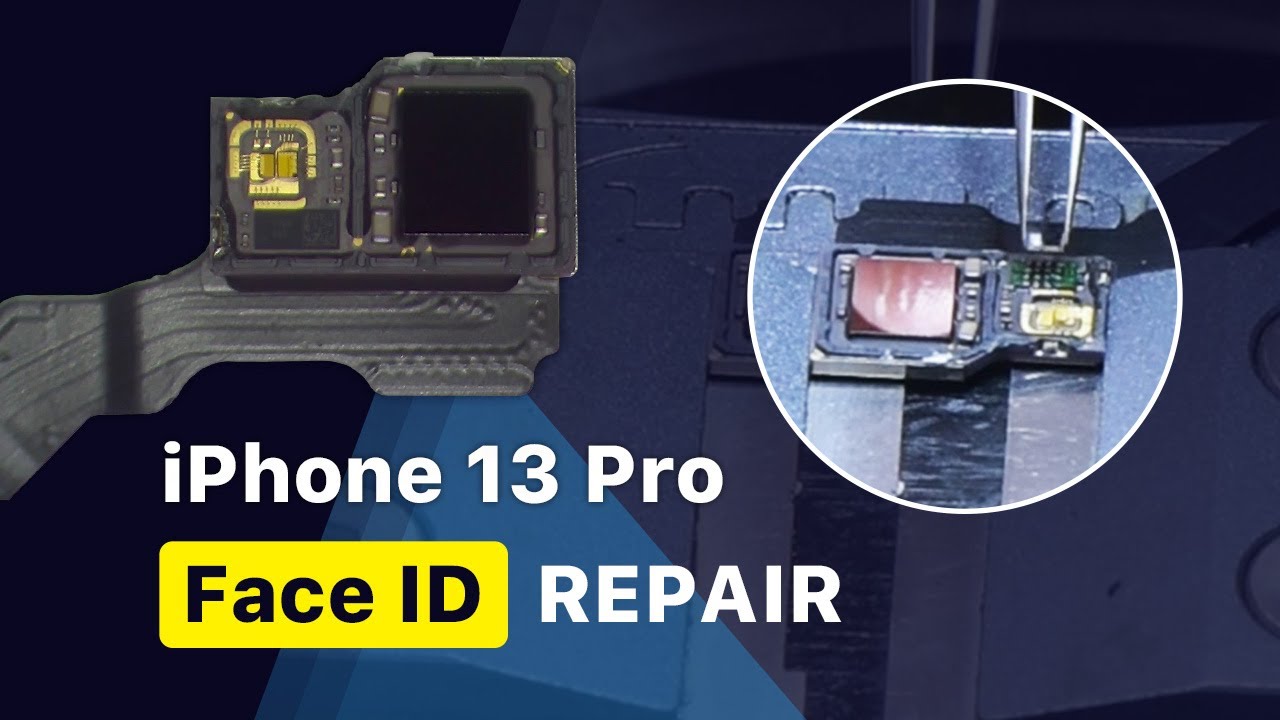
One of the major appearance differences between iPhone 12 Pro and iPhone 13 Pro is that iPhone 13 Pro has a smaller notch After the iPhone 13 Pro teardown, we find that the TrueDepth camera system of iPhone 13 Pro is less of the flood illuminator than iPhone 12 Pro The missing flood illuminator is one of the reasons why the notch is smaller The front camera module of iPhone 13 Pro is also smaller than iPhone 12 Pro The dot projector is moved to the middle with obvious outlook differences We guess it may have something to do with the missing flood illuminator The missing flood illuminator is probably integrated with the dot projector In this video of a repair case, REWA LAB will find out where the missing flood illuminator is and what influences the change of design by Apple will bring to Face ID repairs The Face ID of the iPhone 13 Pro is not available Then we take apart the phone Disconnect the battery and remove the display To avoid potential damage, apply high-temperature tape on the front camera module before repairing Next, yank the motherboard, earpiece speaker and front camera module out In the first place, we connect the front camera module with the programmer Then connect the phone to the computer Click “Pearl Unbind” After unbinding, attach the front camera module to the holder Carefully grind the metal plate with a grinding pen Pry up the metal plate with a sculpture knife Then cut the pin The next step is to remove the dot projector with hot air gun at 120 °C It can be seen that the dot projector of iPhone 13 Pro is integrated with the flood illuminator The CMOS of the infrared camera is put aside Then we remove the chip with hot air gun at 330 °C Clean the bonding pads with soldering iron at 360°C Keep cleaning the bonding pads with solder wick Please do not damage the gold wire or smudge the CMOS during operations Scrub the bonding pads with PCB cleaner Apply some paste flux to the bonding pads Align the PCB board Solder the board with hot air gun at 330°C To facilitate subsequent IC soldering, we flatten the bonding pads Then put the IC in position Solder the chip with hot air gun at 330°C After that, we connect the flex cable with the programmer Connect the phone with the computer The new IC binds the phone successfully Next, we install the flex cable for testing The settings of Face ID can be open and the flood illuminator works fine Then we need to assemble the front camera module After alignment, apply some adhesive Once the adhesive is set, install the front camera module Connect the screen and battery Turn on the phone Face ID can be set up and works perfectly The flood illuminator of iPhone 13 Pro is integrated with the dot projector, which can make the notch smaller but brings new challenges for Face ID repairs Compared to the old method of flex cable replacement and module transfer, the new way is more difficult and demanding for handwork REWA LAB recommends non-professionals do not try this as it might damage the Face ID for good We will keep you posted on the latest Face ID repair solutions for iPhone 13 series Thank you for watching Please stay tuned


